Tuesday, December 6, 2011

Pillows and Fabric

I recently won a $65 gift card to Pillows by Dezign from Jessie's blog, Mix and Chic! I ordered my pillows and just got them in the mail over the weekend. I got two of the purple and yellow pillows. The pillow is very well-made and is also very fluffy. They have a variety of sizes and designer fabrics to choose from and you can choose a down insert or a poly fill insert. I chose the poly fill to help minimize my husband's allergies. :)

The watercolor pillow behind it is from Anthropologie and also just came in the mail!


Another thing that came in the mail in the past couple of days is my designer swatch box from CWD Textiles - a new line of textiles by designer Caitlin Wilson. All the samples are lovely and I can't wait to show them to my clients!


Yep, if you look closely you can see Alfie's nose in there trying to snatch one of the samples.....apparently he likes them too. 

CWD Textiles


~Laura

Monday, December 5, 2011

Tipp City's 2011 "Christmas in the Village"

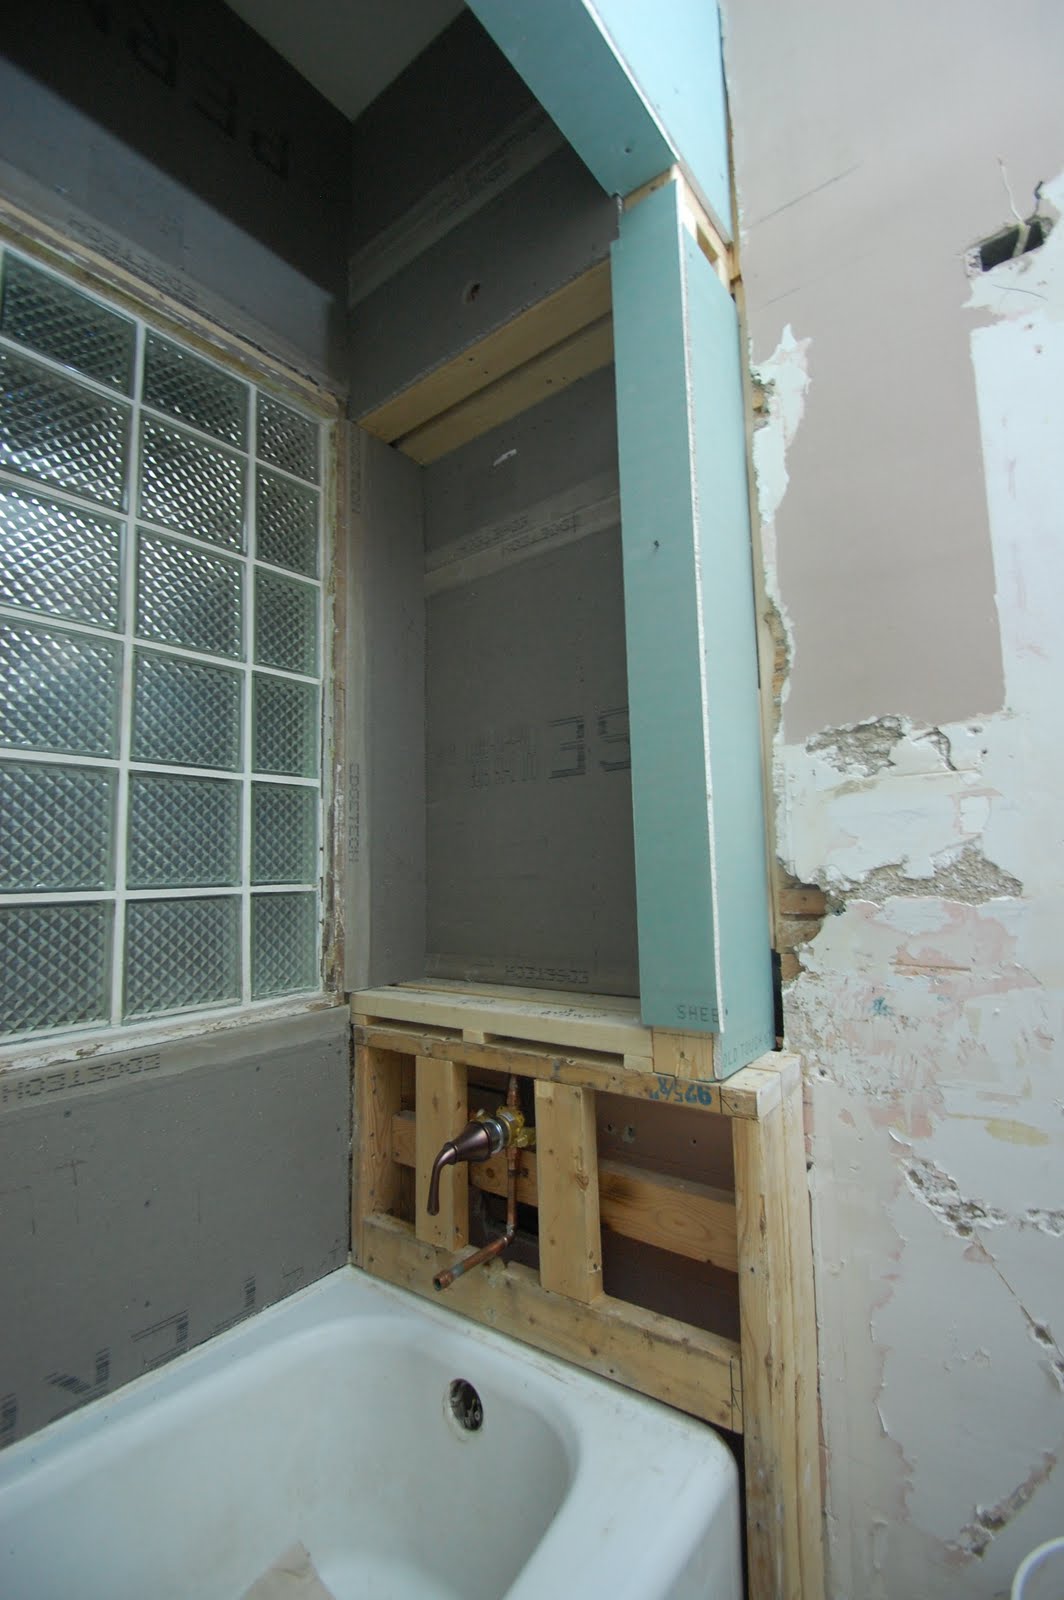
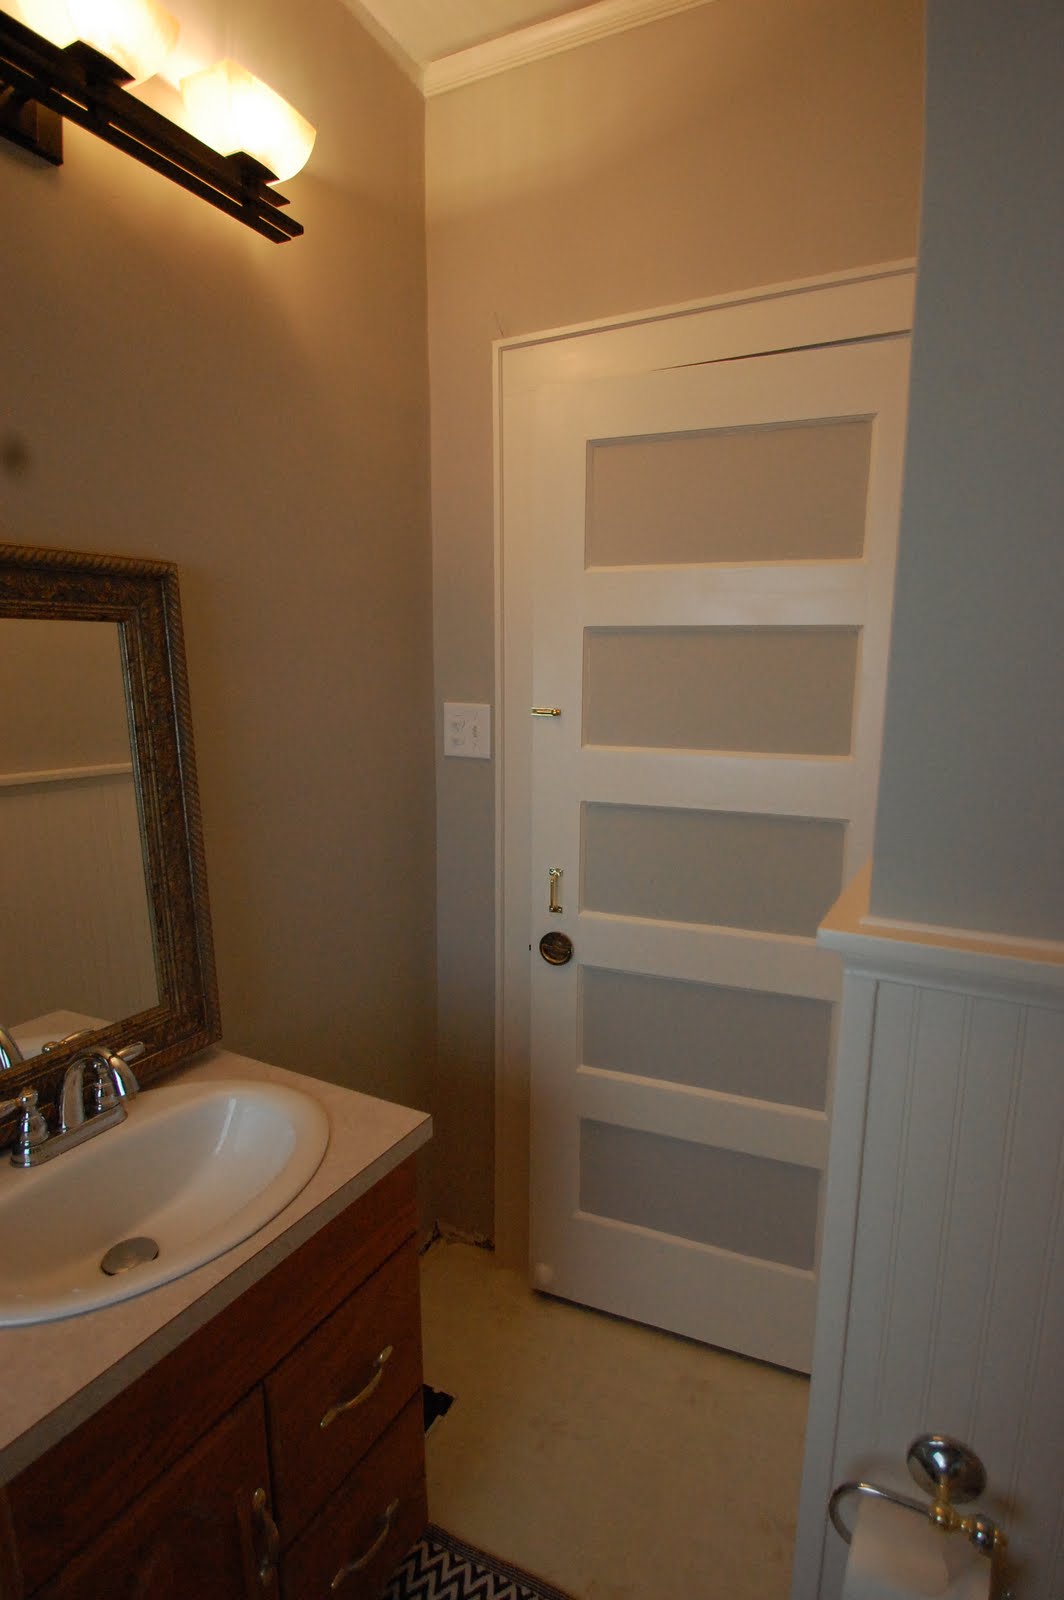
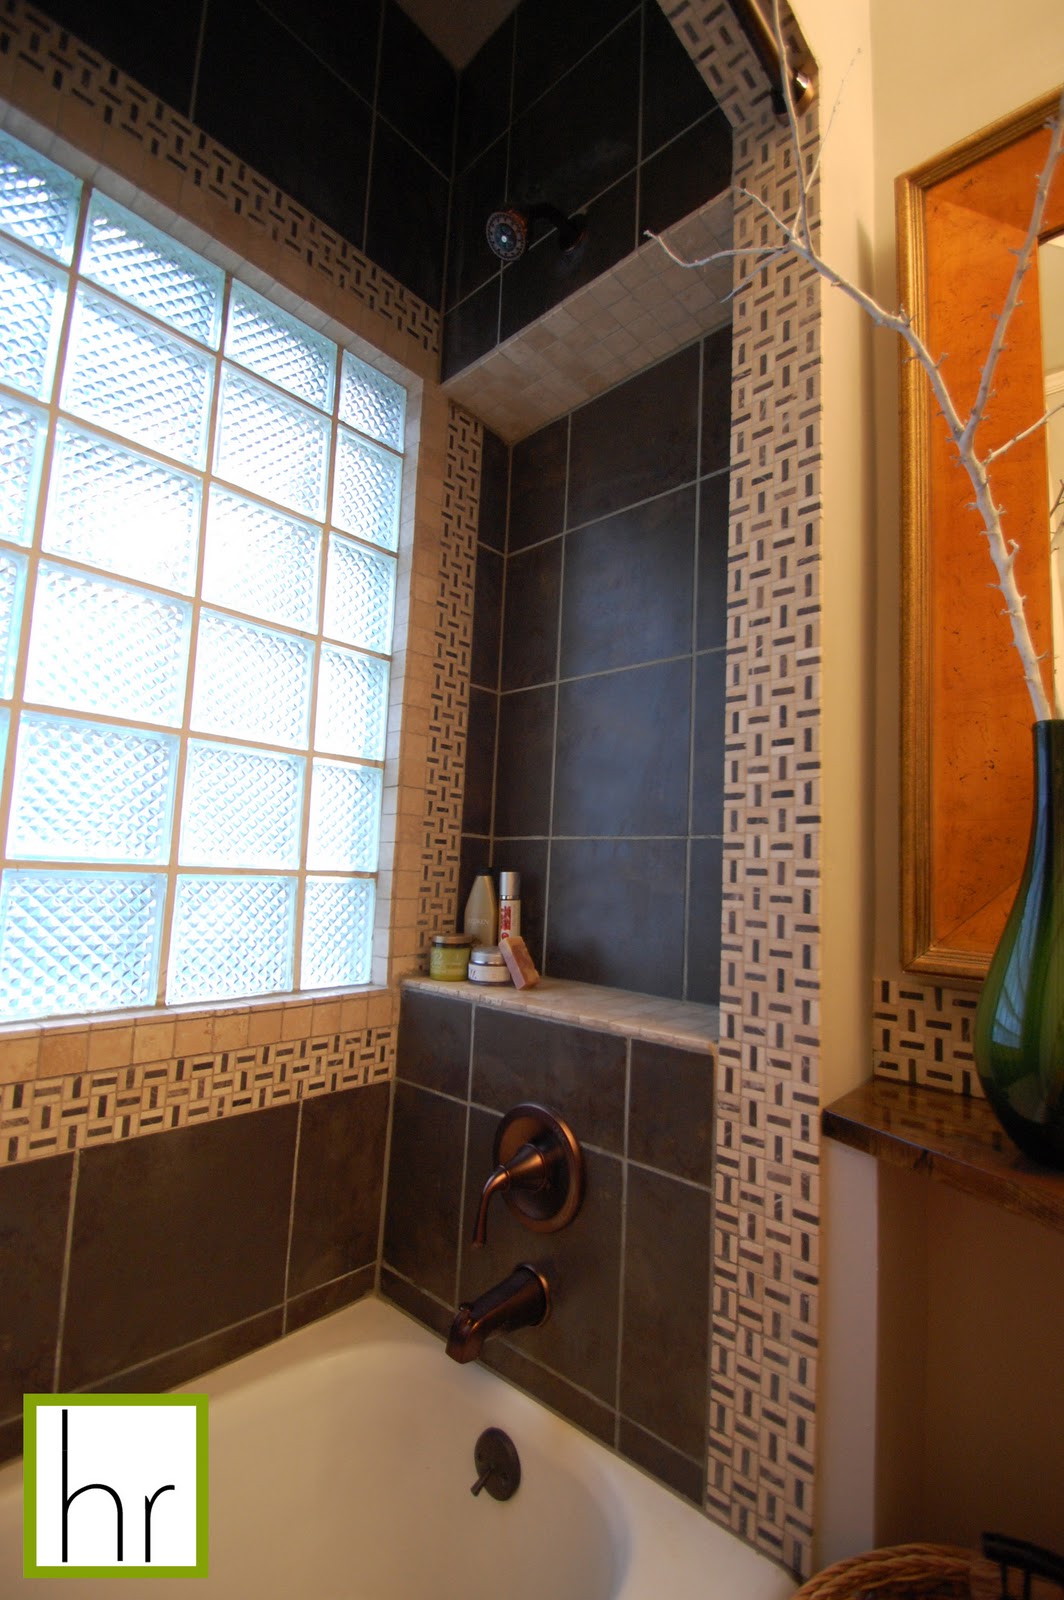
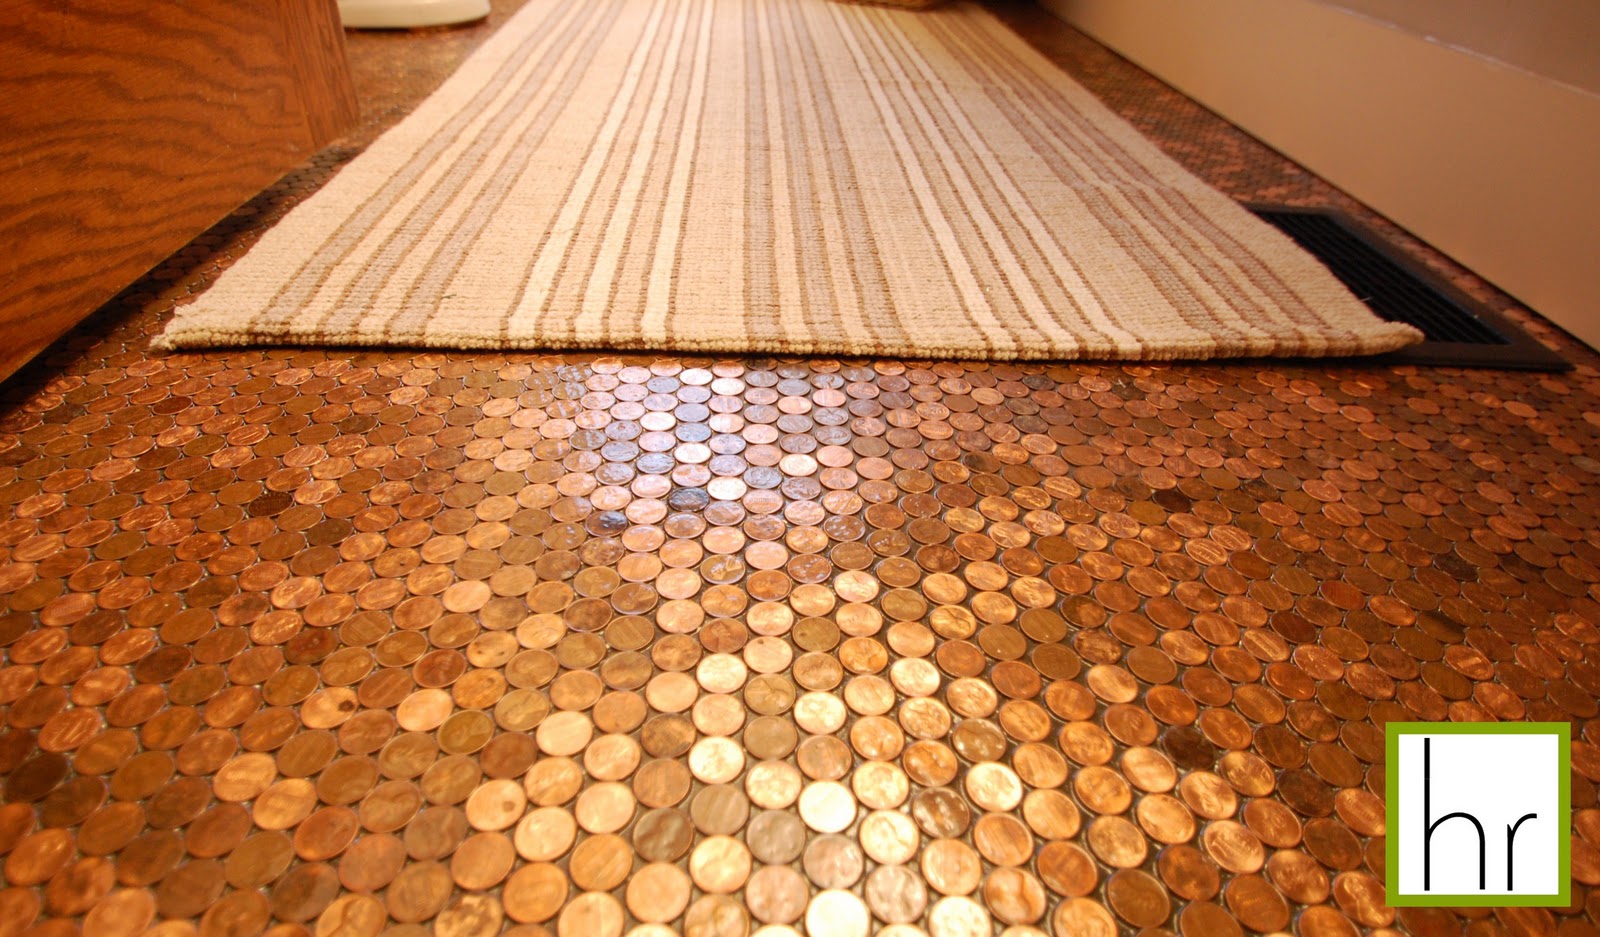
 Before I get into the Christmas event, I wanted to mention my bathroom remodeling project was featured yesterday on Beatrice Banks. Go HERE to check it out!


Tipp City is an adorable, historic little town filled with antique shops and furniture stores located just North of Dayton. Every year to kick off the holiday season they have "Christmas in the Village" where several historical homes open their doors to the public for touring. Different homes are included every year and each one is unique. Some are grand, some are quaint, but each have a story to tell. 

This year the theme was "over the top tabletop" where each home featured a different local interior designer to create a holiday table setting. Here's what I came up with for the home I was assigned.


The room already had a lot of blue and white in it so I used those colors as the basis for my scheme. I added gold for a little Christmas warmth. The glass plates with the leaves belonged to the homeowner and they were something she really wanted to include since they were a gift from her sister. The wine glasses (Pier 1) and the variety of glass and crystal candlesticks (collected from thrift stores) help carry the look across the entire table.

I also incorporated several pieces of Mercury glass (from TJ Maxx) that is popular right now. I really like the glass because it can go towards silver, or it can go towards gold. With the pieces sitting on the gold tablecloth, they really took on more of a "gold" characteristic.

For the main centerpiece I used branches gathered from my parents' yard that I spray painted white by hanging them on a clothes line. This is easy and cheap to do and the white branches always look really elegant. I've also done them in gold or silver before. The window wreaths and center garland were made from pine branches from my own backyard. I added sprigs of pine to the tabletop to anchor them into the room.

Overall I think the room had a very happy feel to it throughout the day, and a very elegant feel once it turned dark.

Here are the other dining tables. I like that each one is so different.
by Deb DeCurtains of Acorn Studios
by Anne Rettig
by Anne Rettig


by Anne Rettig

by Jon Blunt
 
designer unknown


by Randy Luken


by Randy Luken

The rest of this home was gorgeous as well:


Some carolers we saw along the way :)


by Diana Begley
by Diana Begley


by Hapinstance

I hope this helps put you in the Christmas spirit! I know I always feel good after touring the lovely homes each year. Its a great way to start off the holidays!

~Laura


Friday, December 2, 2011

"After" Photos of our DIY Bathroom Remodeling Project!

Our one and only bathroom in our home (except for the creepy basement bathroom.....I don't really count that one!) is finally finished after months and months of working on it.

I am embarrassed to say that Brian and I began this DIY project in June. Considering neither one of us knew what we were doing, and to top it off our house was built in 1923 so nothing is square or "normal", the project took about 5 months longer than planned!

I think it was worth it in the end:


 Here's a breakdown of the process:

Before and The Plan:  click here to read more 
(This was so long ago it has my old logo on it! haha)


Step 1: Demolition  click here to read more
The tons of lathe strips created great bonfire material during the fall :)


Step 2: Construction click here to read more


Step 3: Drywall and more Demo! click here to read more


Step 4: Drywall finishing & Paint click here to read more


Step 5: Remove Flooring and old Vanity click here to read more


And finally, Here's the After!


This is one of my favorite paintings. I picked up this print at the Belvedere Museum in Austria a couple of years ago so it holds some wonderful memories as well!


And lastly, here is our real "penny flooring."


This has been one of my most unique bathrooms I've done. I may not have tried this in a client's house because there were a lot of uncertainties in the details that we had to work through, but now I feel more confident. Everything came together in the end and Brian and I really learned a lot - about construction and about each other! Seriously, doing a remodeling project together before, during, and after getting married is the best marriage counseling you can get! haha. There were definitely times we were at each others throats but now we can share this sense of accomplishment together.

I also have to thank my dad and my brother for putting in some hours helping us through the toughest parts!

Next week I'll show you how we did the floor and the countertop so stay tuned.

 I think we're ready to tackle that creepy basement bathroom after this :)

~Laura